
One of my favourite jackets was starting to look a little careworn so I decided to give it a DIY makeover! In this post, I've outlined the steps taken to achieve the ombre effect.
This is my denim jacket, bought from SES for $20, I think.

You're going to need:
- Bleach
- Fabric dye (I used Fevicryl)
- Warm water
- Patience (or maybe a good book)

First, I put my jacket on a hanger and hung it like so:

Then, I mixed about a cup of bleach with...a whole load of water? That wasn't very helpful.

And let the bleacher games begin! Okay lame, I know.

To achieve a more gradual bleaching, my mother kept adding in more hot water at 15 minute intervals.

Oooh bubbles!

After an hour, take the jacket out the the bleach solution and run it under cold water.

Wring the jacket dry...LIKE A DOTHRAKI WARRIOR!

After the bleaching, it should look a little something like this:

If you're into the whole 90's acid-wash/grunge look, then stop! This is as far as you should go. If you're a hipster (which I'm not, I swear!), then you've still got some more work to do.
Add in the dye. I used up about three quarters of the bottle here.

Next up, warm water!

Swirl it around for a good measure...

Crunch time! Carefully place the hem of the jacket into the dye. Ensure that there is no dye splattered about which can cause spotting.

Remember to add more warm water in 15 minute intervals, just as I did in the bleaching process before.
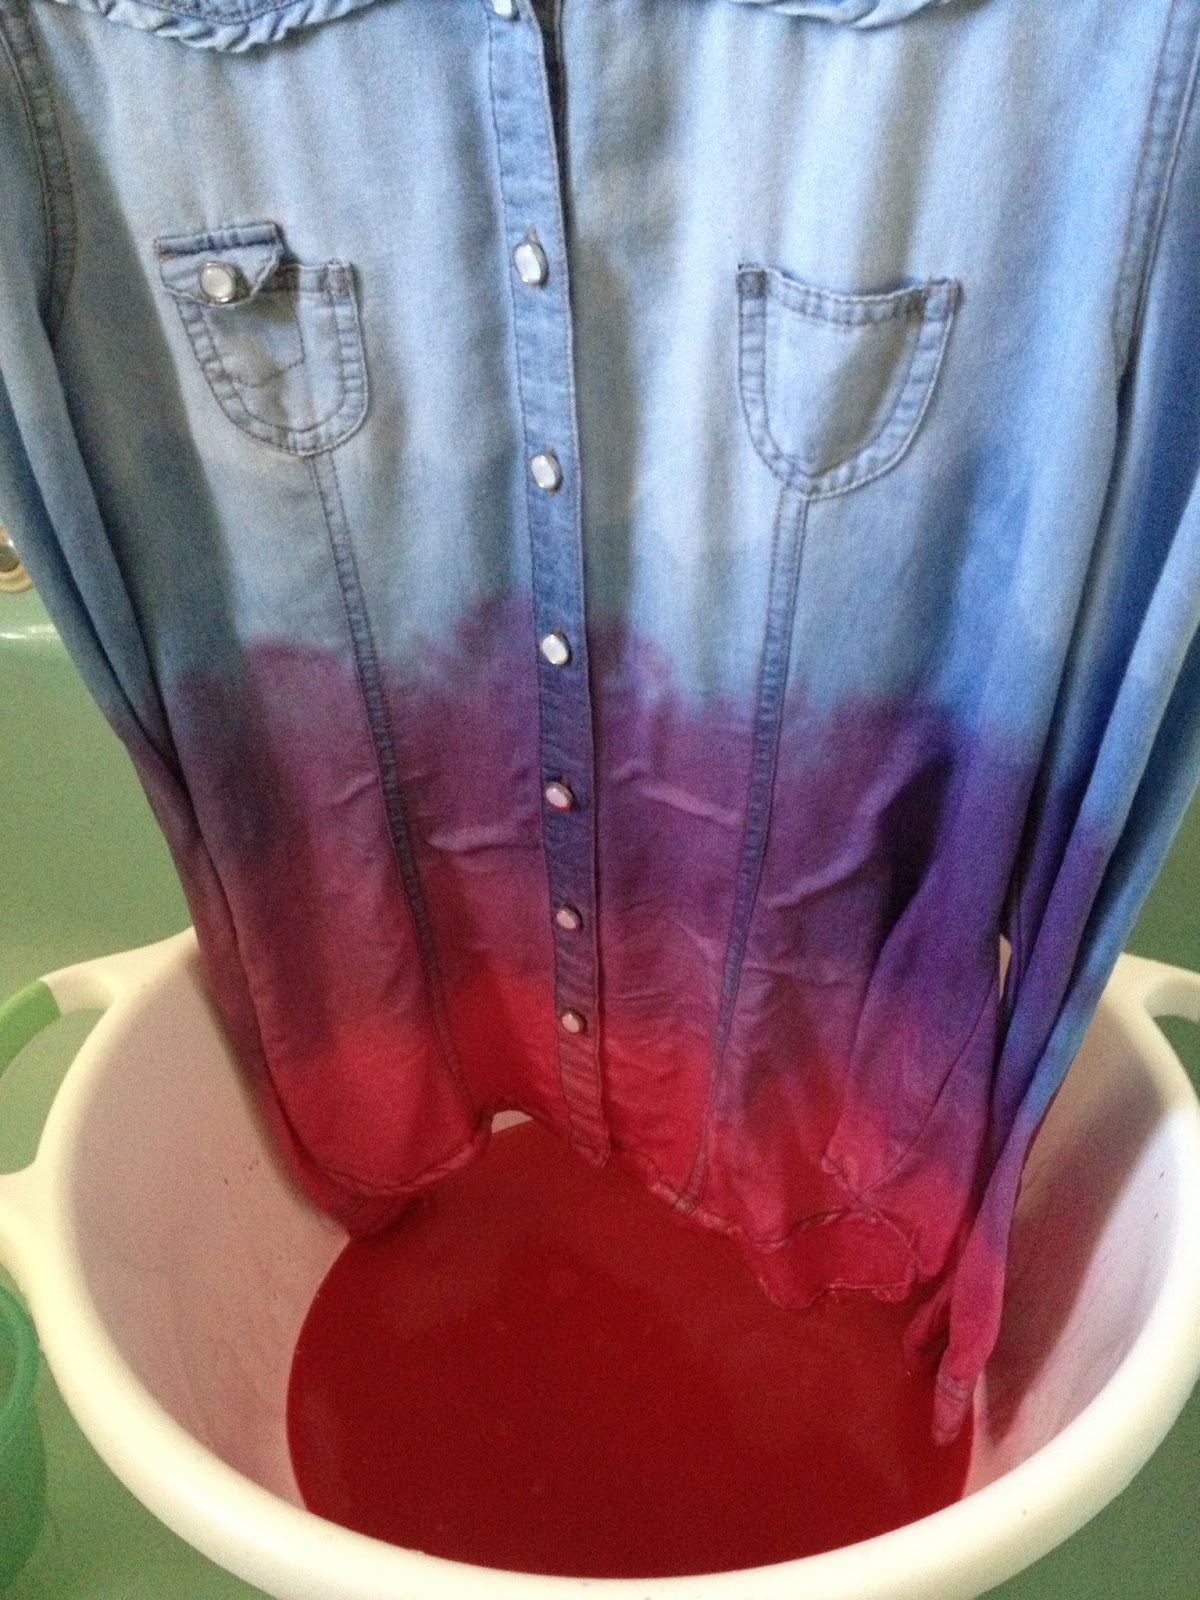
Context needed now, more than ever; if anybody walked in, they'd have thought we were massacring someone. After 45 minutes, remove the jacket from the dye and hang so that the dye seeps downwards. Do NOT wash with water. Not yet, anyway.

We used a glazing brush to darken the hemlines a bit more. I guess you can say it's chicken glazing days are over.

After the jacket's soaked up the dye and dried, I recommend leaving it in some fabric softener solution because the entire dyeing process leaves the fabric a little stiff.

Drum roll, please...presenting the finished product! It didn't really turn out maroon but instead, to rather dirty pink.

And that concludes my first DIY post. I hope you found it helpful!
PS: Special thanks to my mother, who actually did all the work while I sat on the toilet seat, gawking and taking pictures.
